Move Drawing, Handwriting and Ink with Image in OneNote
In another document, we have described how to pin down drawing into text outline in OneNote.
In this document, we will show you how to move drawing, handwriting and ink with image.
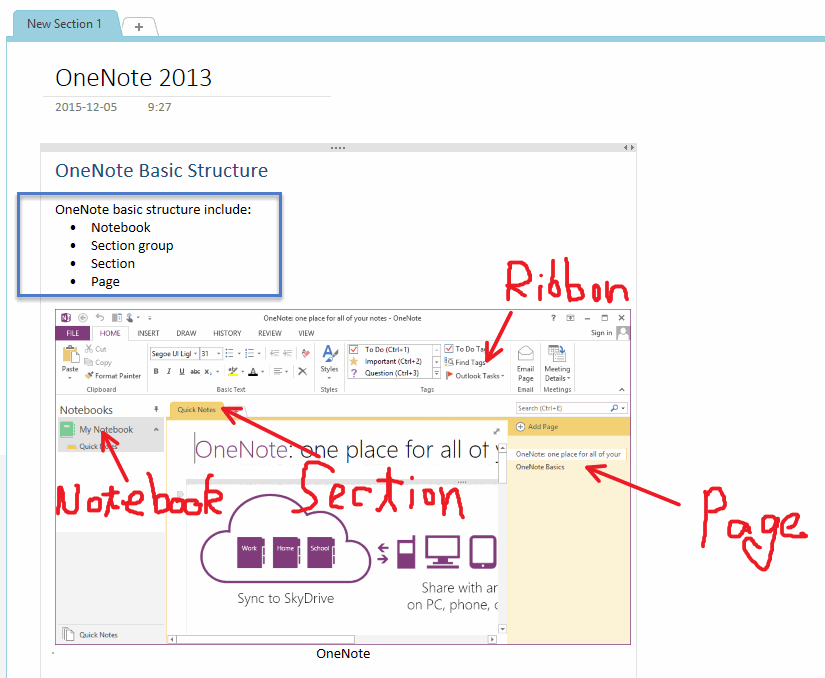
Image inside Outline
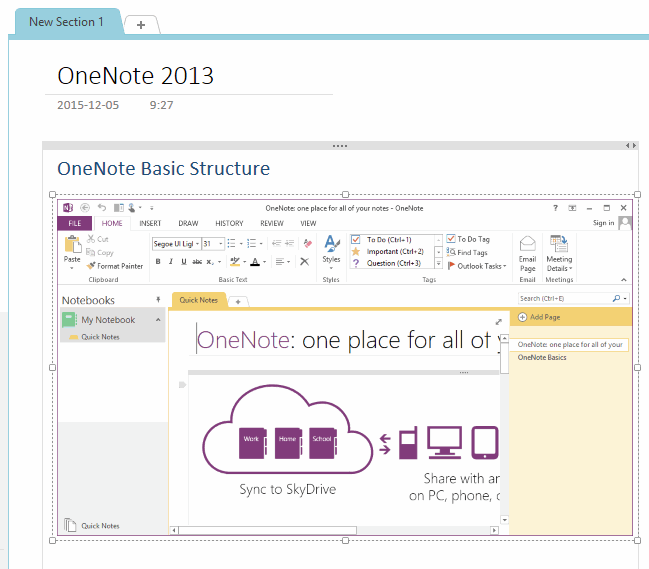
In this example, we can see the image saved inside text outline.
In this document, we will show you how to move drawing, handwriting and ink with image.
Image inside Outline
In this example, we can see the image saved inside text outline.
Insert Text Below the Image as Caption
To lock drawing with image, we need a text paragraph.
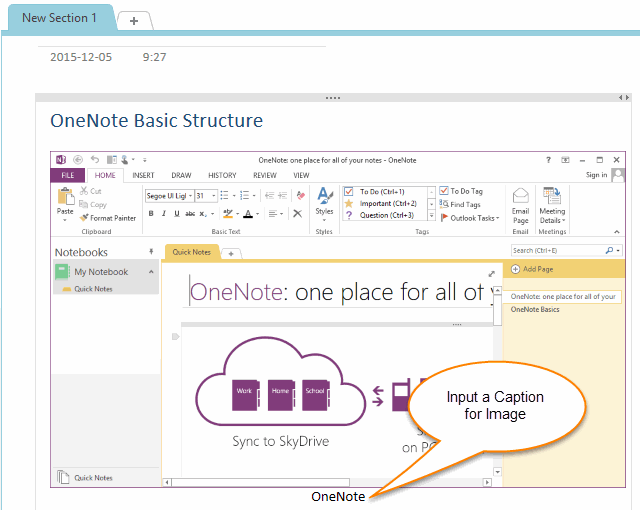
In this example, we insert text "OneNote" below the image as caption.
To lock drawing with image, we need a text paragraph.
In this example, we insert text "OneNote" below the image as caption.
Draw and Hand Write on OneNote Image
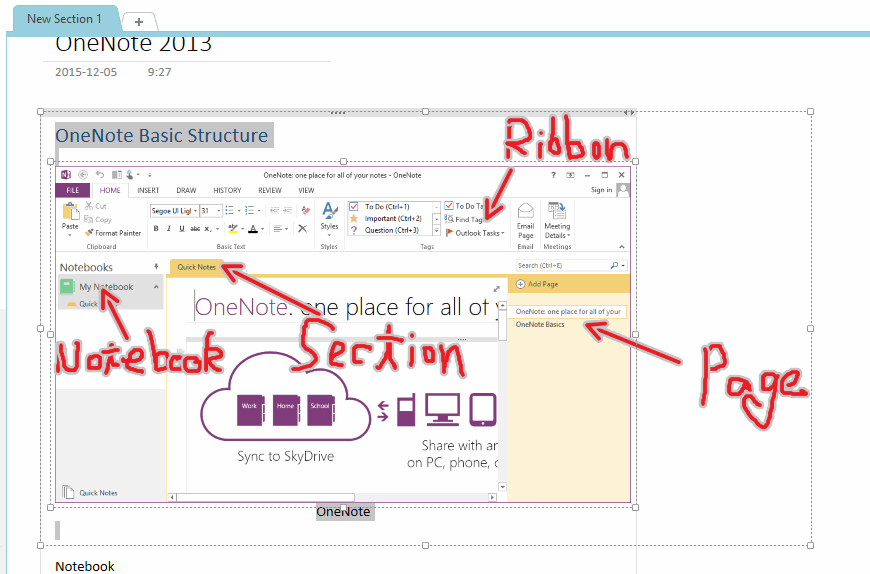
Now, we can begin to draw and hand write on image.
After drawn, select all inks on image ( Maybe it will select some text ).
Now, we can begin to draw and hand write on image.
After drawn, select all inks on image ( Maybe it will select some text ).
Convert Handwriting to Drawing
On image, maybe you have some handwriting, you need to convert them to drawing.
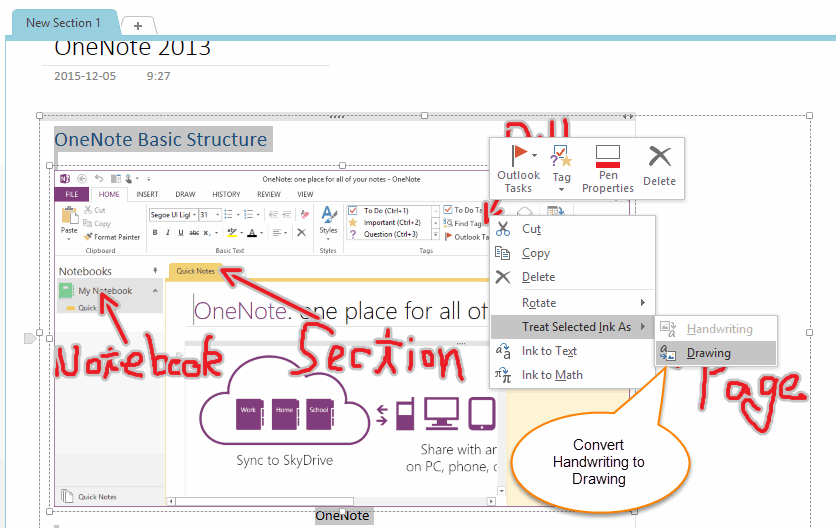
Right click on the selection, click "Drawing" sub-item in "Treat Selected Ink As" menu item, it will convert handwriting to drawing in the selection.
On image, maybe you have some handwriting, you need to convert them to drawing.
Right click on the selection, click "Drawing" sub-item in "Treat Selected Ink As" menu item, it will convert handwriting to drawing in the selection.
Using Gem Feature to Pick Up Drawings
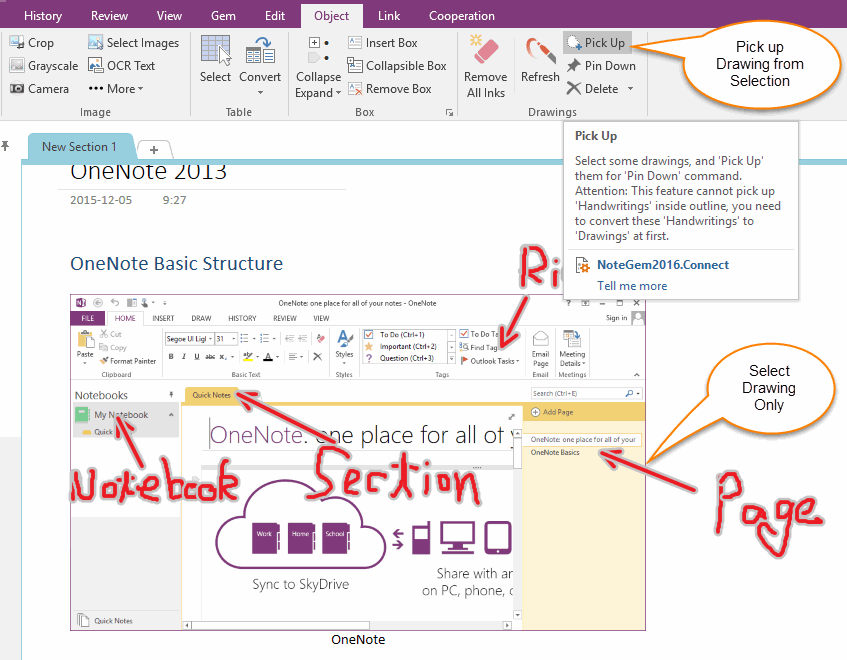
You can use "Pick Up" feature to pick up these drawings in selection in Gem for OneNote.
Click "Object" tab -> "Drawings" group -> "Pick Up" feature,
Gem will pick out the drawings from selection.
Now, you can see the selection change to just select drawings.
You can use "Pick Up" feature to pick up these drawings in selection in Gem for OneNote.
Click "Object" tab -> "Drawings" group -> "Pick Up" feature,
Gem will pick out the drawings from selection.
Now, you can see the selection change to just select drawings.
Anchor Drawings to Caption
After pick up drawings,
It will anchor these drawings to "OneNote" caption.
After pick up drawings,
- Now, we select "OneNote" caption to ready attach these drawings.
- Next, in "Gem for OneNote", click "Object" tab -> "Drawing" group -> "Pin Down" feature.
It will anchor these drawings to "OneNote" caption.
Drawing Dislocated with Image when Input New Text Before Image
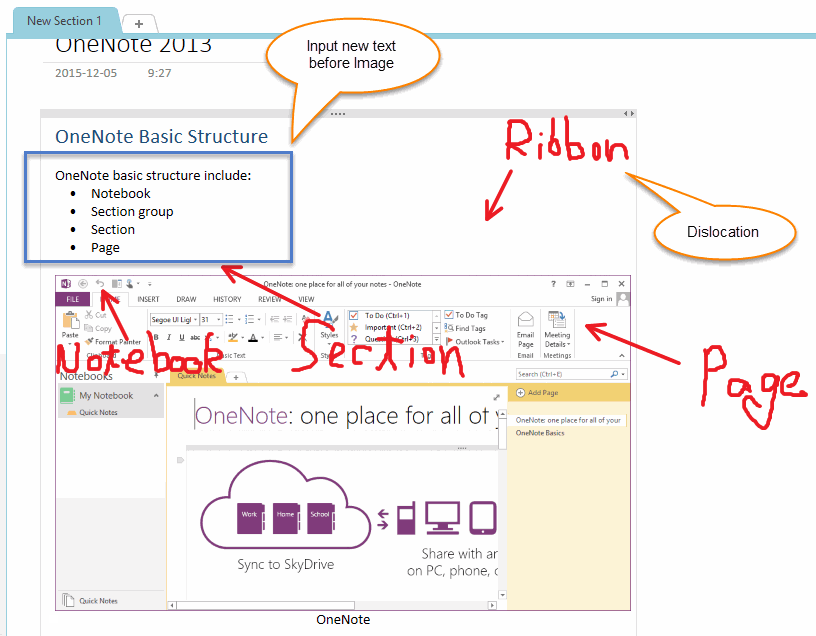
When we insert new text before image, we will find that these drawings don't move down with image, OneNote place them in the original position.
This cause these drawings dislocated with image.
When we insert new text before image, we will find that these drawings don't move down with image, OneNote place them in the original position.
This cause these drawings dislocated with image.
Move all Drawings to its Correctly Position by One Click
For these drawings which have pinned down, we can move them to correctly position by One Click.
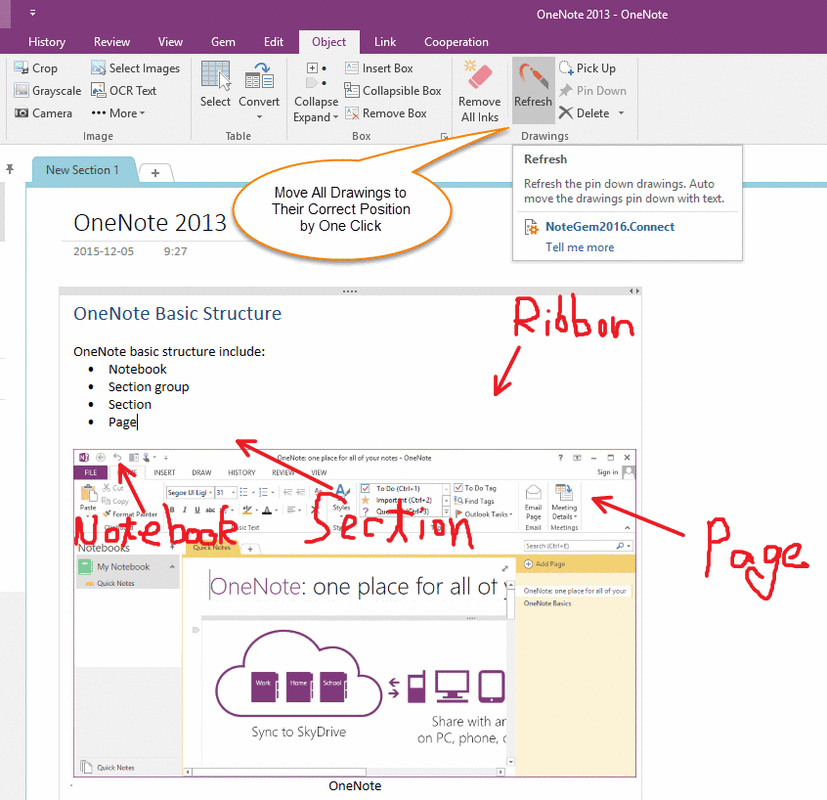
In "Gem for OneNote", Click "Object" tab -> "Drawing" group -> "Refresh" feature,
This feature will move all drawings ( Pinned down already ) in current page to correctly position.
For these drawings which have pinned down, we can move them to correctly position by One Click.
In "Gem for OneNote", Click "Object" tab -> "Drawing" group -> "Refresh" feature,
This feature will move all drawings ( Pinned down already ) in current page to correctly position.
Move to Correctly Position
After click "Refresh" feature, we can see the drawings all go to its correctly position.
After click "Refresh" feature, we can see the drawings all go to its correctly position.
